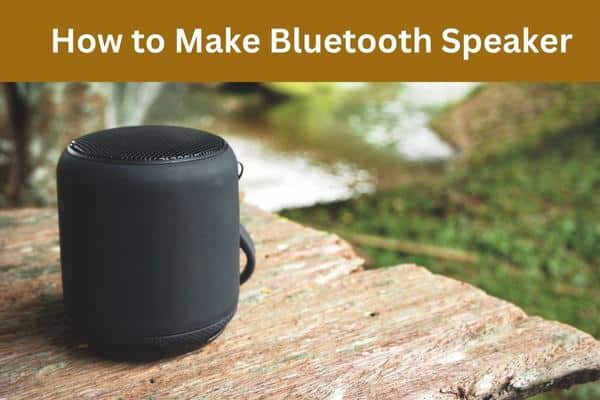
Want to make your Bluetooth speaker? But you do not know how to make Bluetooth speaker? If you have never made electronics before, it could sound intimidating, but with the correct equipment and knowledge, you can make your Bluetooth speaker in no time!
A DIY Bluetooth speaker is the perfect thing for you. These speakers are fantastic since they are conveniently portable, and you can add battery packs that last up to 10 hours!
This step-by-step guide on how to make Bluetooth speaker will walk you through all the steps involved in making your speaker, from idea validation to finding parts to making the thing itself.
Materials & Parts:
- Stereo Bluetooth Module ($6 cheaper after update)
- SMD Amplifier, 2x3W High Efficiency
- 2x3W Speakers ($2.80 as of the most recent update)
- Li-ion Battery, 1000 mAh
- Passive Driver (optional)
- Matt Black Sprayer
- Module for USB Li-ion Charging
- 3. 5 mm Stereo Jack
- Basic Sliding Switch
- Container
Equipment & Gear:
- Rotating Tool (with Flute Bit)
- Cordless Drill with a 5mm Bit
- Soldering Iron, 40W
- Multi-tool Leatherman
- Super Glue.
- A hot-glue gun
We now have every piece of equipment required to build our Bluetooth speaker.
Mark with Pencil and Cut Holes
You can use anything that will contain the shape of your speakers, such as a pencil box or briefcase. Cut it out with a rotating tool.
When cutting out the shape, leave an inch of space around all sides so that when you place it on top of your cylinder speaker, there is ample room for the sound to escape.
Paint the Case
In the beginning, you will need oil paints, if you can find one. If not, use the matt black sprayer. Coat both sides of the case and let it dry for an hour.
You can make stripes on your case to add more decor to it. Use white paint and make thin lines across your case in any direction you like with a brush or q-tip.
Attach the Hardware
First, you will need a 1000mAh Li-ion Battery and an on/off switch. I recommend getting a simple sliding switch to handle the power we will use.
You will also need a stereo Bluetooth module, SMD Amplifier, and speakers. You can use 2x8W speakers because they produce louder sounds.
You will have to hot glue all of your electronic components inside.
After gluing, wire them in parallel to have 4W of sound output. For them to work as a stereo speaker, they should be attached (for example, by wire). Positive on one hand and negative on the other.
The positive side goes into the speaker enclosure, and the amplifier then connects with the negative, which enters inside the speaker enclosure.
It does not matter how you mix the two speakers because they will both be connected positive and negative.
After this, we attach all these parts to our project board.
Soldering it All Together

Gently heat some solder in the tip of your soldering iron. Put the end of one wire with stripped ends (positive) against the end of the other wire with stripped ends (negative).
Apply pressure to make them stick together. Apply more solder to fill in any gaps between wires and circuit board. Repeat this process for all wires.
Finally, remove any excess solder from around the edges by wiping it away with a damp sponge. Allow all extra solder joints to cool before continuing to step 4!
Sealing up the Enclosure

Use an appropriate adhesive to seal up the enclosure. Before choosing an excellent adhesive glue, ensure it dries clear and can be used in small areas where other adhesives might not reach.
Test it out!
Finally, do not forget the most crucial step! Test your speakers. Connect them to your phone and take them for a test drive!
Conclusion
Making a Bluetooth speaker can be a fun project for novice and experienced makers. Be sure to have the necessary skills, time, and patience how to make Bluetooth speaker.
You can find templates for measurements online or print them out to create something that suits your taste and needs!
Remember, practice makes perfect!


